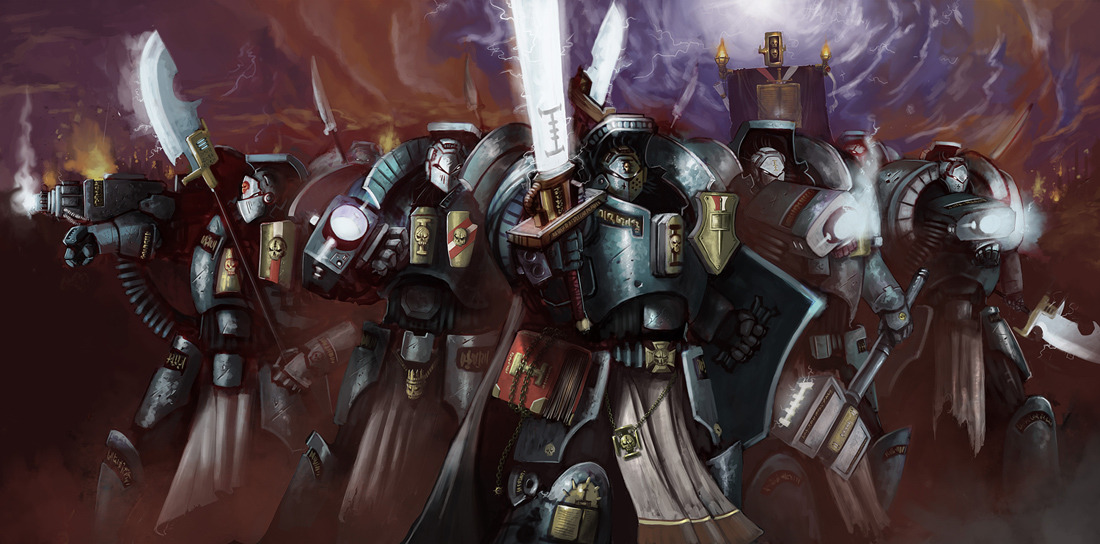
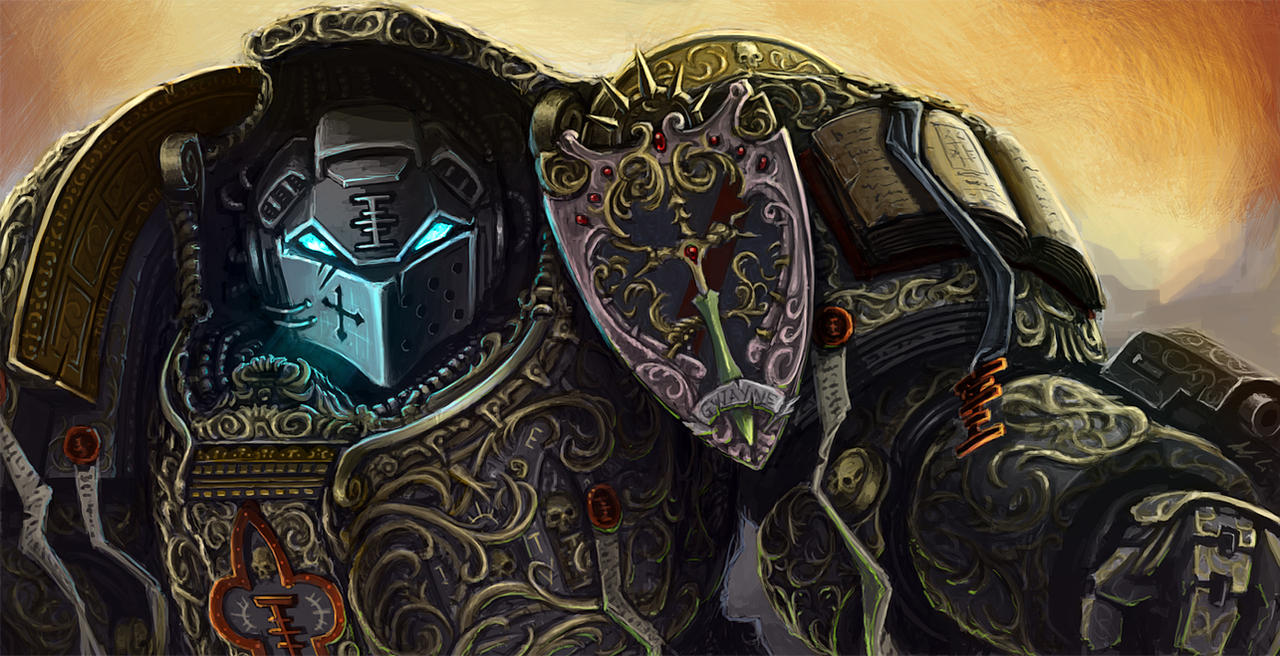
Happy new year, gamers. Will here with a little update on a hobby project I've slowly been taking on. With a new campaign on the horizon for our club, I've been kicking it into gear. It's turned out to be a lot more work than I thought. So what did I get myself into?
Well, I laugh
because I've truly never played an army that had a save better than a 5+. "You
mean things can get shot and not die?" I wanted to explore power armor, and I
leaned towards getting the new space marine codex, but also dug the look of
grey knights. I decided to go full carpet-bomb with magnets, with the goal
being fully magnetized GK squads that could double as a marine custom chapter.
Long term, this will
involve purchasing shoulder pads, arms, and bolters, none of which belong to
GK. For now, lets focus on what it is my realm of possibility! Fully
magnetizing a GK strike squad. This allows you to change squad gearing per
game. Also, it feeds my compulsion to use every part of the kit. *twitch*
Here's where it
started. I planned out what came in each box, and how many magnets would be
needed. This just gave me an idea for materials purchasing. Secondly, as you
will see in many magnet guides, it gives you a recorded plan for the polarities
before you start gluing. This made me incredibly nervous, so I tried to get it
all down on paper. The main goal is consistency. I want every shoulder to fit
every torso; every weapon hand to fit every wrist; etc.
The KR trays work
great for organizing the parts. I love to have all the parts off the sprue and
cleaned before assembling, because the distraction of searching and removing
gets me off track. Plus, more compulsion.
 |
| Over analyzing! |
The magnets I'm
using at 3mm x 1mm. The drill bit I'm using is from a small set Tamiya makes,
which was in millimeters. This was actually hard to find for me! A local store
ended up making the recommendation, and it was a perfect match. I didn't want
to mess with fractions of an inch converting to millimeters, because if there
was a margin of error; I'd be fussing with the fit near 500 times. No thanks,
math!
 |
| These were $5 for ~500. |
I use a cordless
drill and hold it in my lap, and push the part on to the bit slowly. Because
this bit was new and sharp, I did have a few times where it really bit in and
got stuck. When that happens I manually twisted it off the bit with my hand,
and no damage occurred. Another bit worth mentioning is wait till the torsos
are dry! If not completely dry, the drilling could just push it apart.
 |
| Got one stuck on there. Go slow so the bit doesn't chew it apart. |
Here's some
completed and ready for the magnets. You'll have to feel out when it is a deep
enough recess for the magnet. There were times I went through the shoulder in
the arm, but its not too big of a deal since that goes into the shoulder pad. I
would like to thank the blokes from the UK who's article said 3mm is the
perfect size for space marine limbs. Totally spot on, cheers.
Here's my secret
weapon. You need to create a quick visual reference for polarization. If you're
like me and anxiously second guess things even as they are currently happening,
have no fear. This is will make you feel 99% safe.
After creating a
master-crafted polarization stick, you can easily identify what needs to go in
a certain part by 'big' or 'little'. Big means, let the loose magnet stick to
the big end, and use that end to push it into the hole. Who knows what pole
that is? Who knows what pole is facing up? I have no clue! Yet, I know it is
consistent. I've finished two squads with no mistakes so far. Again, definitely
write down which end you are sticking the magnet to for each joint. Arm, torso,
wrist, weapon, backpack, back.
This next part was
impossible to show holding a camera, but let me explain. You need to have the
magnet on the end of the stick, and then dab glue on the bottom of the magnet,
the part going inside the model. Try not to get too messy, as you'll find out why.
Here's another 'feel out' moment. The magnet needs to be held in there to set,
but you'll need to carefully slide the stick away from the magnet you're
working with. It is tough because too soon, and you will pull out the magnet. I
ended up doing a indiana jones switch and sliding my finger over part of the
way during removal. In any case, you want the magnet flush, and not recessed
too far into the hole.
I believe that even
if you have some mistakes in the fitting, those shoulder pads got your back.
Bonus Brush4Hire kickstarter shot because I didn't want to clean it up.
One note on the
wrists: I was worried about them being too elongated. However, I think with
some paint, it will hardly look out of place between the glove and the arm
plate.
Family photo! I am
really enjoying the ability to pose. I don’t like the way the weapons are held
from the box. Guarding an objective? Enjoy this regal stoic pose, for instance.
Change it up when charging. It would make battle report photos a lot more dynamic.
Thanks for sticking
with me here! I really bit off more than I could chew with this project, but it
will be fantastic when finished. For now, I'm trying to focus on getting these
guys ready for the tabletop.


I started out with a lot of incorrect magnet polarization with my first Tau battlesuits before fixing my method. I have used a lot of magnets for both my Tau and Blood Angels but not to the level you are showing here. Good job!
ReplyDeleteI've done a lot of magnetizing, but to be honest 95% of what I've magnetized only stays in one configuration anyways!
ReplyDeleteim guessing i will find that to be true as well. i have two more squads (5+5 guys to go) but the power armor GK have so many options. i will probably go through with it for consistency, but a lot of work!
Deletei decided to negate the 2H sword as an option, i figure if i pop on one of the falchions it will serve as a nemesis force sword. there are 3 sets in the kit, so that covers all the guys if i wanted to run all swords (cheapest option).
Nice! I've not done a ton of magnetizing because I hated pieces falling off in the middle of battles, moving around, etc etc but with the way GW is going with prices I will be doing more of it.
ReplyDeleteya, thats why i feel i got into it. i do really love the multipart kits a lot, but i always want to get the full use of the kit.
DeleteHere are a few handy tips to add:
ReplyDelete1. If you use an accelerant to get your magnets glued in place, the bond can be fragile.
2. Be careful not to let your pieces smack together. The magnets might break free.
3. Don't leave your magnetized models in the car during cold weather. The glue can again become brittle and the magnets can pop off.